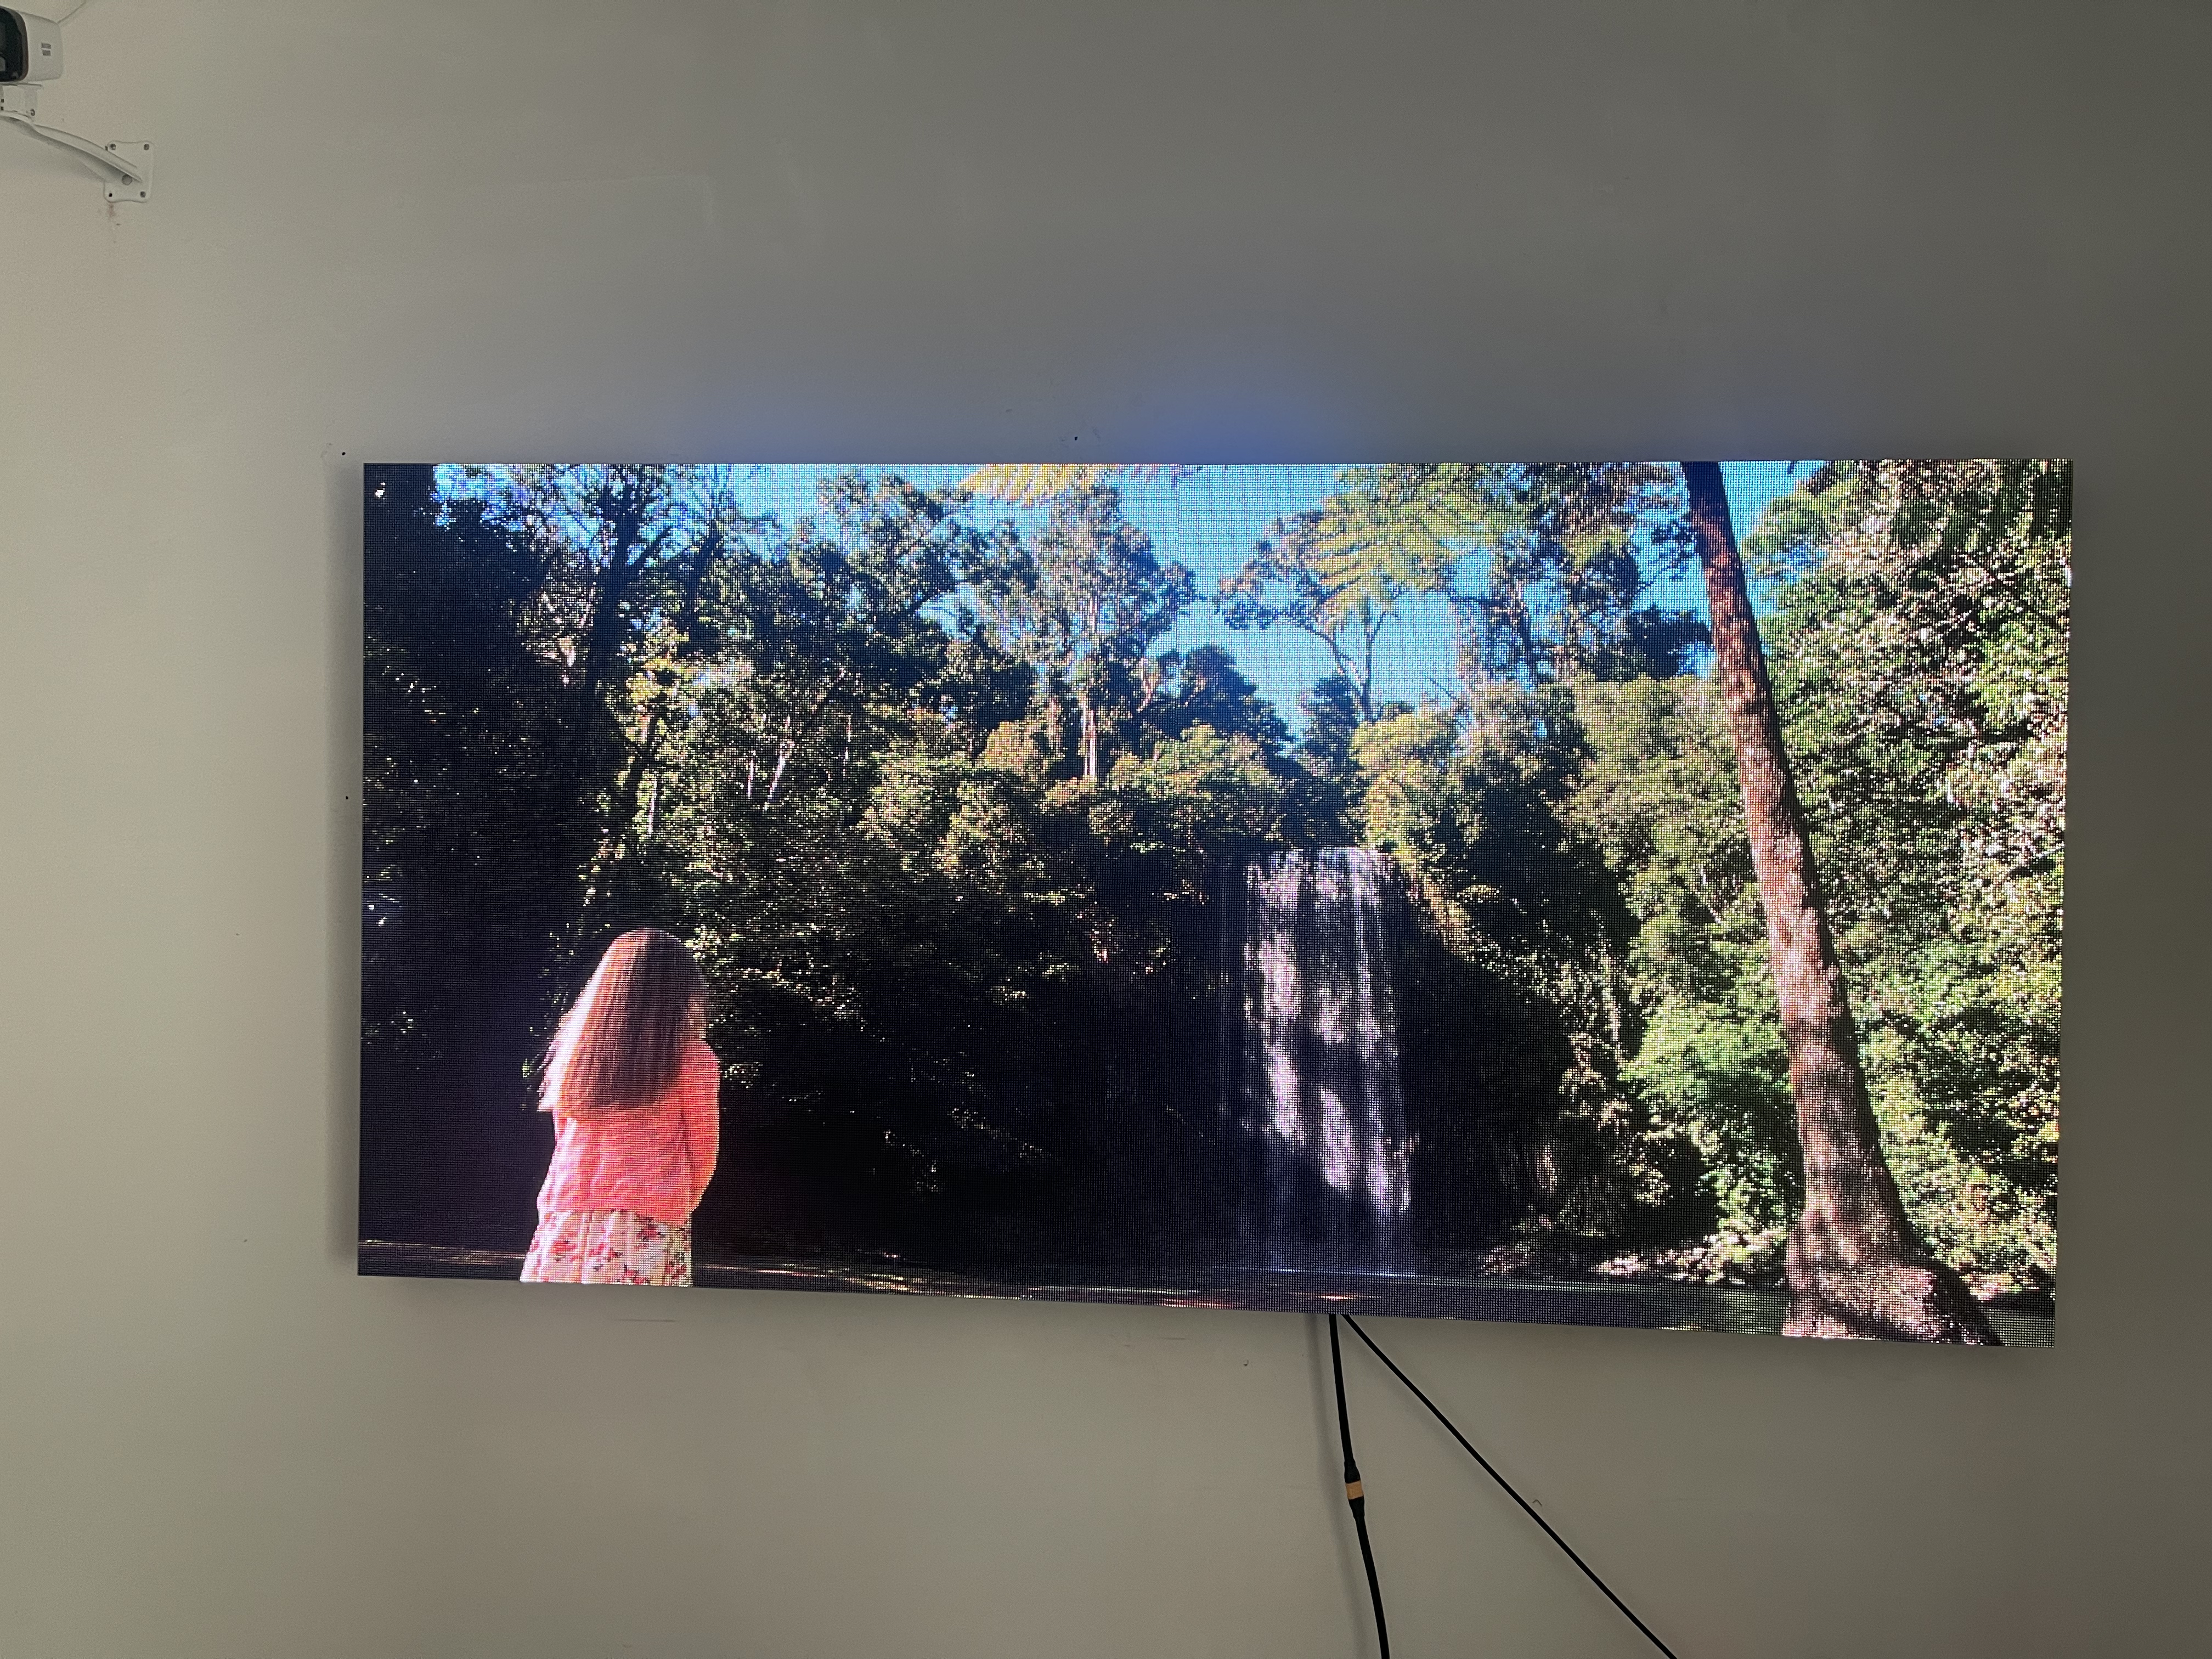
Indoor LED displays are a popular choice for businesses, events, and entertainment venues due to their vibrant visuals, customizable sizes, and long lifespan. Proper installation is crucial to maximize their performance and ensure safe operation. This guide outlines the step-by-step process for installing an indoor LED display.

Step 1: Plan the Installation
- Assess the Space:
- Measure the area where the display will be installed.
- Consider viewing distance and angle for optimal placement.
- Choose the Right LED Display:
- Select the appropriate pixel pitch based on the viewing distance.
- Determine the display size and resolution.
- Prepare Power and Data Requirements:
- Ensure sufficient electrical power supply.
- Plan for data signal cables and controllers.
Step 2: Prepare the Installation Site
- Inspect the Structure:
- Verify that the wall or support structure can handle the display's weight.
- Reinforce the structure if needed.
- Install the Mounting System:
- Use a professional-grade mounting bracket.
- Ensure the frame is level and securely attached to the wall or support.
- Ensure Proper Ventilation:
- Leave space for air circulation to prevent overheating.
Step 3: Assemble the LED Modules
- Unpack Carefully:
- Handle LED modules with care to avoid damage.
- Organize them according to the installation sequence.
- Install Modules onto the Frame:
- Securely attach each module to the mounting frame.
- Use alignment tools to ensure seamless module connections.
- Connect Modules:
- Connect power and data cables between modules.
- Follow the manufacturer’s guidelines for wiring.
Step 4: Install the Control System
- Set Up the Sending Card:
- Insert the sending card into the control system (usually a computer or media server).
- Connect the Receiving Cards:
- Each module has a receiving card that communicates with the sending card.
- Ensure all connections are secure.
- Configure the Display Software:
- Install the LED control software.
- Calibrate the display for color, brightness, and resolution.
Step 5: Test the Display
- Power On the System:
- Switch on the power supply and verify all modules light up evenly.
- Run Diagnostics:
- Check for dead pixels or misaligned modules.
- Test signal transmission and ensure smooth content playback.
- Fine-Tune Settings:
- Adjust brightness and contrast for the indoor environment.
- Optimize refresh rate to prevent flickering.
Step 6: Secure the Display
- Inspect the Installation:
- Double-check that all modules and cables are secure.
- Confirm the structure's stability.
- Add Protective Measures:
- Use a protective cover if needed in high-traffic areas.
- Ensure cables are organized and out of reach.
Step 7: Maintenance Plan
- Schedule regular cleaning to prevent dust accumulation.
- Periodically inspect the power and data connections.
- Update software to ensure compatibility with new content formats.
Final Thoughts
Installing an indoor LED display is a detailed process that requires careful planning, precision, and expertise. If you're unfamiliar with electrical or structural requirements, it's best to consult professionals. A well-installed LED display can transform your indoor space, delivering stunning visuals and lasting performance.
Post time: Nov-16-2024


